Top Tips for Stunning Daylight Exterior Renders: A White Villa on a Blue Sky Day

Creating realistic daylight exterior renders is essential to bringing architectural projects to life, especially when showcasing luxurious villas in perfect weather conditions. At our 3D architectural rendering services, we specialize in creating breathtaking exterior renders that help potential buyers and architects visualize projects in the best possible light.

Here’s how you can create stunning daylight renders for a white villa under a sunny, blue sky.


1. Choose the Right Time of Day

When rendering an exterior scene, natural daylight plays a significant role in defining the mood and visual appeal of the project. The best time for rendering daylight scenes is during the morning or late afternoon, when the sun is lower in the sky, creating softer shadows and highlighting architectural details beautifully.

A direct midday sun can often result in harsh lighting, which may wash out the intricate details of a white villa. So, consider setting your lighting at around 9 AM or 4 PM, when the sunlight is warm, and shadows are elongated.


2. Optimize Your Sun and Sky Settings

For a crisp render, set the sun’s intensity to align with a typical sunny day. This ensures the shadows are defined but not overly sharp. Adjust the sky model to match the vibrancy of a clear blue sky, as it contrasts beautifully against the villa’s white walls, adding a pop of color to the scene.

For realistic results, utilize a High Dynamic Range Image (HDRI) for your sky dome. HDRI environments offer more accurate reflections and light distribution, ensuring that the lighting feels naturally balanced and harmonious with the architecture.


3. Control the Contrast and Highlights

One of the challenges in rendering a white villa is maintaining the correct balance between highlights and shadows. Too much exposure can cause the white surfaces to blow out, losing crucial details. On the other hand, too little exposure can flatten the image, making the villa appear dull.

Make sure to fine-tune the exposure settings to avoid overly bright areas. The key is to keep the bright portions crisp without burning out, while ensuring the shaded areas still retain depth and color.


4. Use Realistic Materials and Textures

For a realistic daylight render, your materials must react naturally to light. Ensure that the villa’s materials, particularly the exterior surfaces like stucco or plaster, have the correct reflectivity and bump maps. Proper texturing will allow the materials to react to the daylight realistically, enhancing the overall authenticity of the render.

Since white surfaces reflect more light, you’ll want to ensure that reflections from the environment, including the sky and surrounding greenery, appear on the villa’s exterior. Consider adding subtle dirt maps to make the material feel more grounded and authentic, especially for close-up shots.
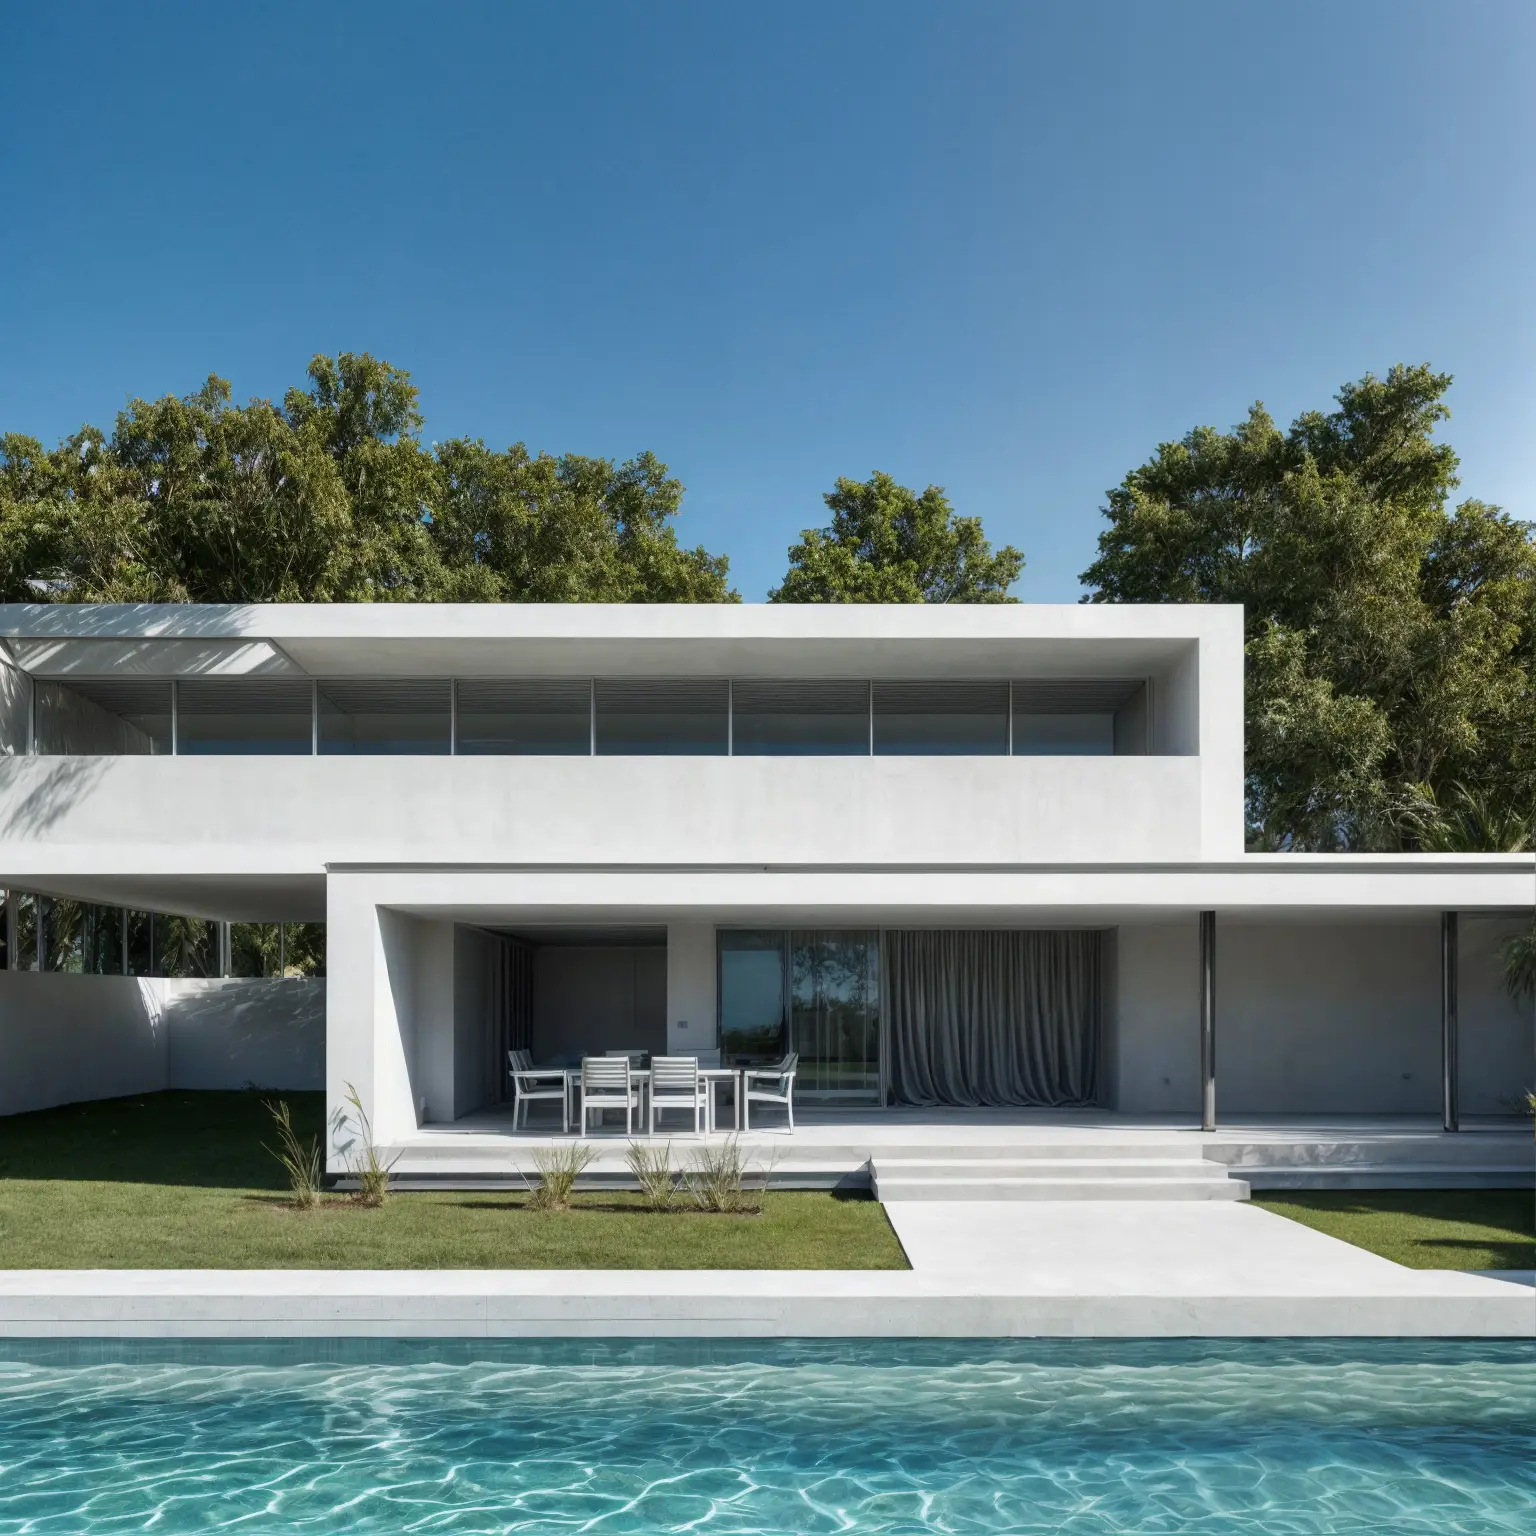
TheArchibox.net Render Visualization


5. Add Strategic Vegetation and Landscaping

To break up the dominance of a white villa in a render, include elements such as trees, plants, and lawn spaces. These not only add a splash of natural color but also help in casting dynamic shadows that bring depth and interest to your render. When positioning greenery, consider how the sunlight will interact with the leaves and grass, casting shadows across the villa’s surfaces.

Vegetation also contributes to the realism of the render by giving the scene a sense of scale and context. Ensure that your plants are high-quality 3D models or optimized textures for the best visual impact.


6. Play with Camera Angles and Composition

For an eye-catching render, experiment with camera angles. A lower camera angle can make the villa appear more majestic, while a bird’s eye view can highlight the overall layout and surrounding landscape. A great composition draws the viewer’s eye naturally towards the villa, showcasing its architectural features.

Consider the Rule of Thirds when framing your render. Placing the villa slightly off-center or aligning the horizon with the upper or lower third of the image can create a more balanced and aesthetically pleasing composition.


7. Enhance Post-Production for Final Touches

Once you’ve completed the rendering process, post-production is where the magic happens. Tools like Photoshop or After Effects allow you to adjust brightness, contrast, saturation, and even add subtle effects like lens flares or clouds for additional realism. Ensure that the villa’s white surfaces maintain their clarity and don’t become overly saturated or dulled down.

At this stage, you can also enhance small details such as window reflections or increase the vibrancy of the blue sky to make the final image pop. A few final adjustments can make the difference between a good render and a great one.


8. Keep Render Settings Optimized

Rendering high-quality daylight scenes, especially for exterior architecture, can be taxing on your system. Make sure your render settings are optimized for quality without extending render times unnecessarily. Using progressive rendering techniques or adaptive sampling can help you achieve smooth and noise-free results faster.

For example, if you’re using 3ds Max with Corona Renderer, set the primary and secondary GI solvers to achieve realistic light bounces, and adjust your exposure directly within the render settings to fine-tune the balance between highlights and shadows.


Conclusion

Creating stunning daylight exterior renders for a white villa under a blue sky requires attention to detail, from lighting and materials to camera angles and post-production enhancements. By implementing these tips, you’ll ensure that your renders not only look realistic but also captivate and inspire your audience.

For high-quality architectural renderings that bring your vision to life, contact us today! Whether it’s a sleek modern villa or a detailed commercial project, we provide professional rendering services to showcase your architecture in the best light.